
If you are looking for a cute and playful nail design, bunny nail art is the perfect choice. This trendy and adorable style is gaining popularity among nail enthusiasts of all ages. Whether you want to showcase your love for bunnies or simply want to try something fun and unique, bunny nail art is a fantastic option. In this article, we will explore different bunny nail art designs and provide step-by-step instructions on how to achieve these charming looks.
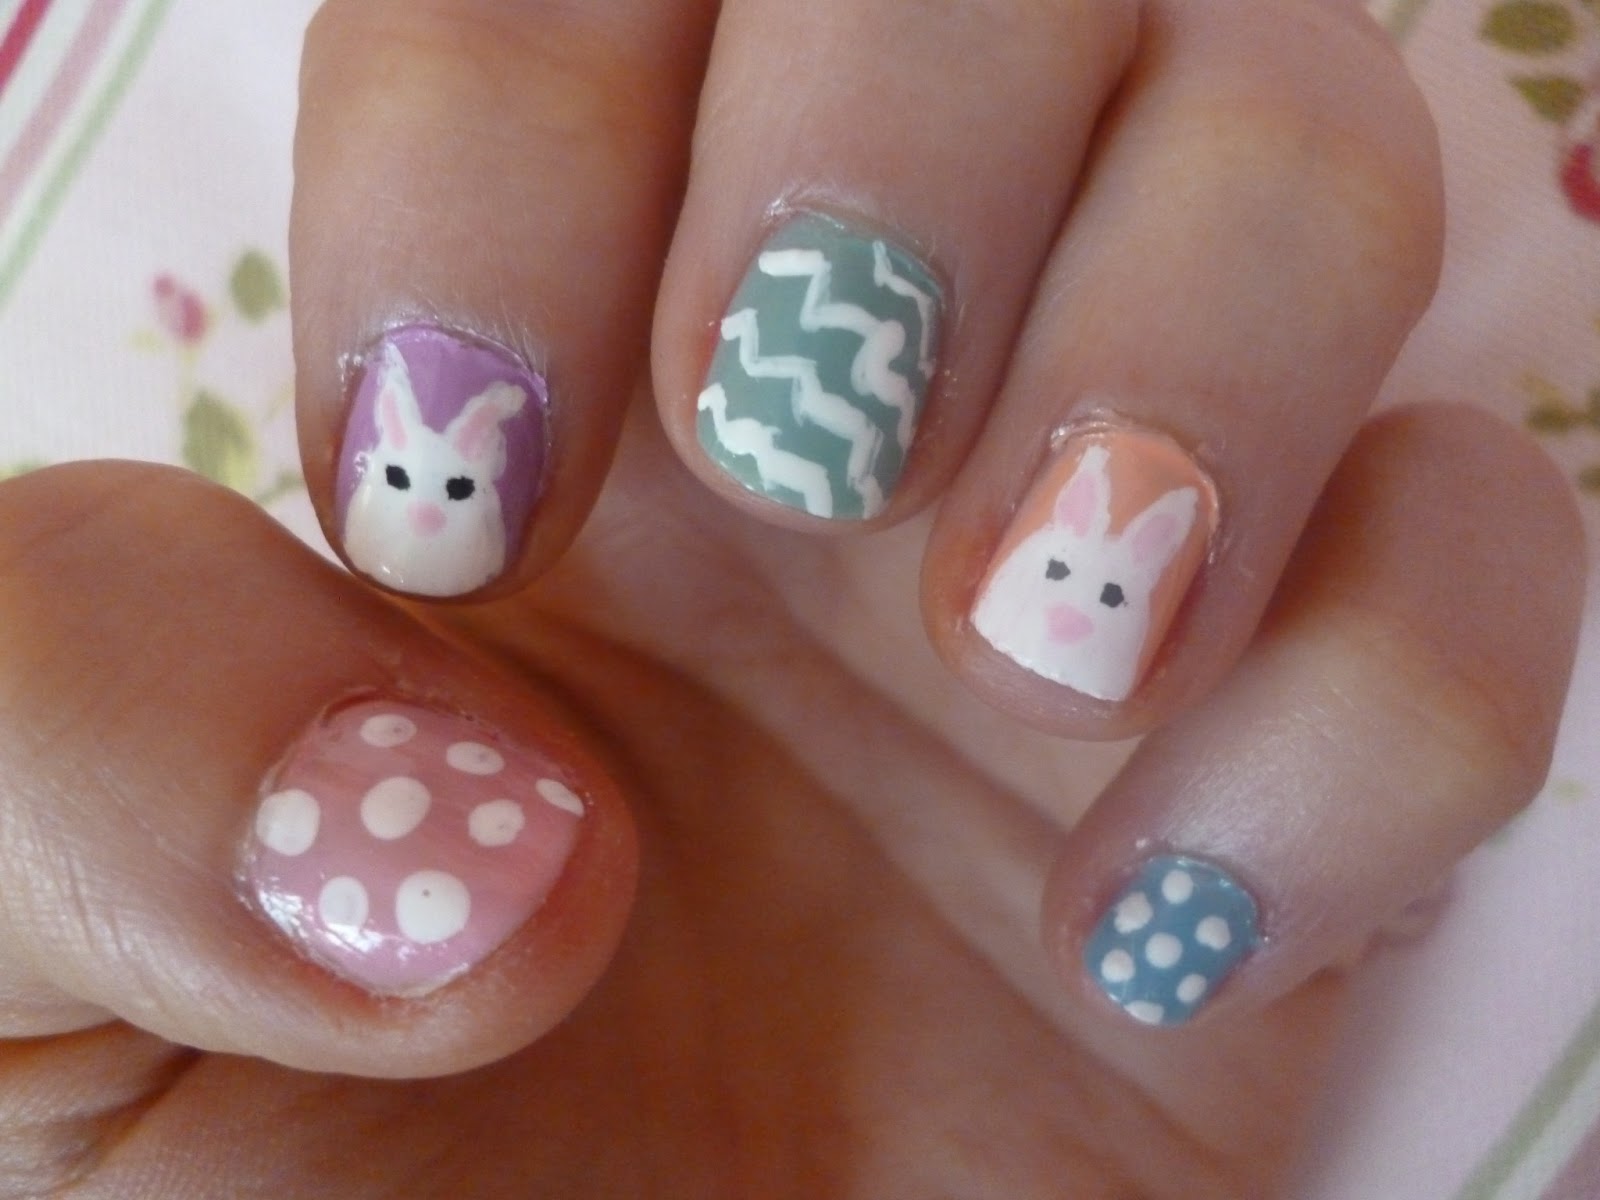
1. Basic Bunny Design

The basic bunny design is a great starting point for beginners. To create this look, start by applying a base coat to protect your nails. Once dry, choose a light pastel color as your base color, such as baby pink or mint green. Using a thin brush or a dotting tool, create two small oval shapes near the center of your nail for the bunny's body. Then, add a smaller oval shape on top for the bunny's head. Use a contrasting color to draw two small dots for the eyes and a tiny triangle for the nose. Finish off with two small dots for the cheeks. Seal the design with a top coat for long-lasting wear.
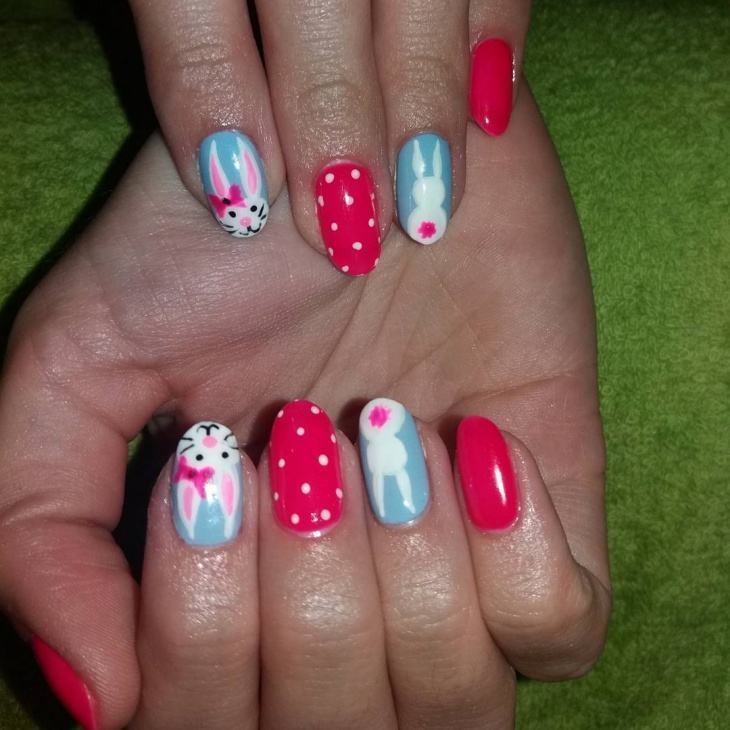
2. Easter Bunny Nails

Easter bunny nails are a perfect choice for the spring season and Easter celebrations. To achieve this look, start with a light pastel color as your base. Then, using a thin brush or a nail art pen, draw a bunny's face on the accent nail. Create two large ovals for the bunny's ears and a small oval for the head. Add two dots for the eyes and a small triangle for the nose. You can also add a cute bow or a flower crown to enhance the design. On the remaining nails, create simple Easter-themed patterns such as polka dots, flowers, or Easter eggs. Finish with a top coat to seal the design.
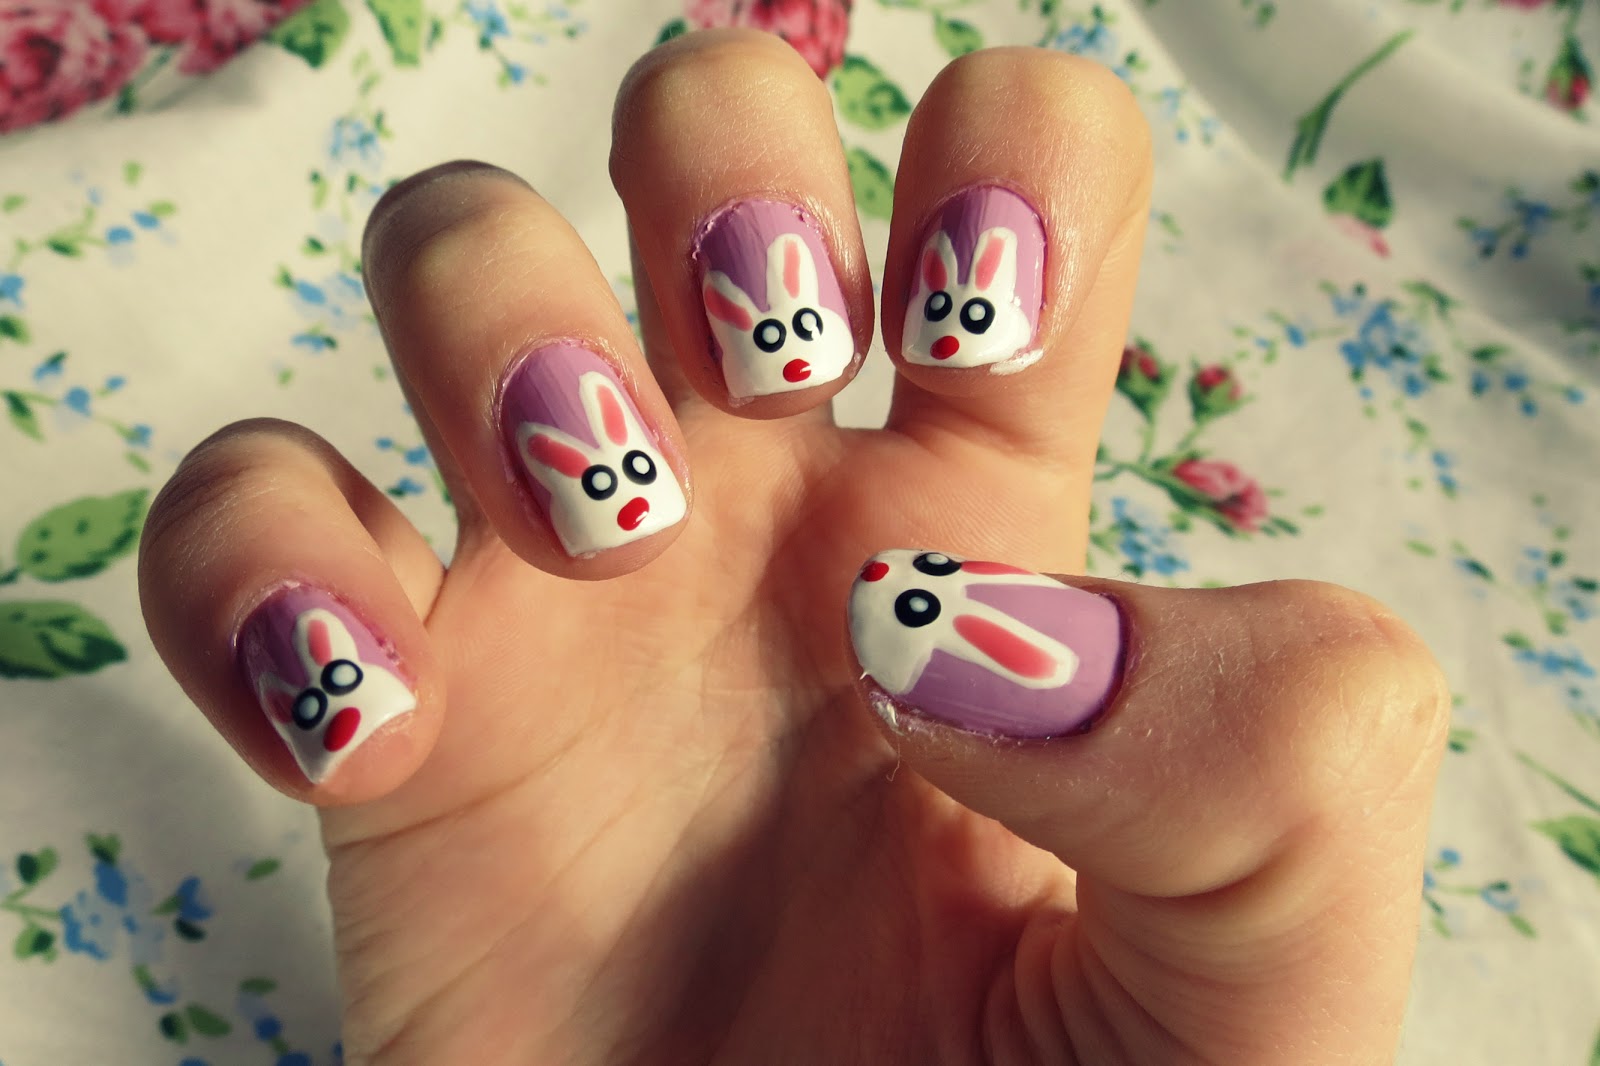
3. Cartoon Bunny Nails
If you prefer a more cartoonish and playful look, cartoon bunny nails are a great option. Start by applying a light base color of your choice. Then, using a thin brush or a nail art pen, draw a cute bunny face on each nail. You can experiment with different expressions, such as a smiling bunny or a winking bunny. Add rosy cheeks, eyelashes, and a small bow for extra cuteness. To complete the cartoonish vibe, draw simple patterns like hearts, stars, or clouds on the remaining nails. Finish off with a top coat for a glossy and long-lasting finish.
4. 3D Bunny Nails
If you want to take your bunny nail art to the next level, try creating a 3D effect. Start with a light base color and let it dry completely. Then, using a small brush or a toothpick, create a small mound of acrylic powder or nail gel on your nail to form the bunny's body. Shape it into an oval and cure it according to the product's instructions. Once cured, add a smaller mound for the bunny's head, shaping it into a rounded triangle. Cure again to set the shape. Use acrylic paint or nail polish to add details such as eyes, nose, and ears. Finish with a top coat to seal the design and add shine.
5. Floral Bunny Nails
For a feminine and elegant bunny nail design, try incorporating floral elements. Start with a light base color and let it dry. Using a thin brush or a nail art pen, draw a bunny's face on one or two accent nails. On the remaining nails, create delicate floral patterns using different colors. You can opt for dainty flowers, leaves, or vines. Play with pastel shades to maintain a soft and romantic look. Finish off with a top coat to protect your design and add a glossy finish.
Conclusion
Bunny nail art is a delightful and charming way to express your creativity and love for bunnies. Whether you opt for a basic bunny design, Easter bunny nails, cartoon bunny nails, 3D bunny nails, or floral bunny nails, these adorable designs are sure to turn heads and bring a smile to your face. Have fun experimenting with different colors, patterns, and styles to create your unique bunny nail art. Get ready to showcase your playful side with these cute and whimsical designs!
